
-
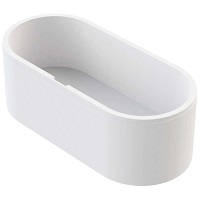
 Schedel XL Keramag iCon support SW10385 180x85cm, oval, height 60cmAvailable for order delivery time: 10-28 working daysShipping Cost Points: 3500
 -
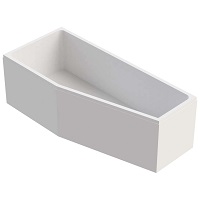
 Schedel support SW11056 160x75cm, right, height 57cmAvailable for order delivery time: 10-28 working daysShipping Cost Points: 3500
 -
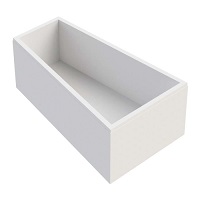
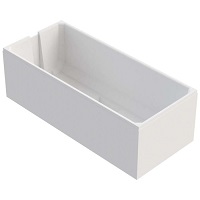
 Schedel support SW13037 160x80cm, height 57cmAvailable for order delivery time: 10-28 working daysShipping Cost Points: 3500
 -
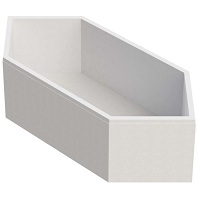
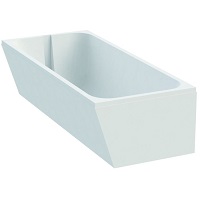
 Schedel support SW13038 170x75cm, height 57cmAvailable for order delivery time: 10-28 working daysShipping Cost Points: 3500
 -
 Schedel support SW13040 190x80cm, height 57cmAvailable for order delivery time: 10-28 working daysShipping Cost Points: 3500
 -
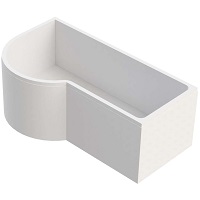
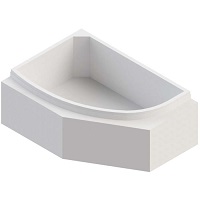
 Schedel Keramag Renova Nr.1 corner bath support SW13041 150x100cm, left, flush, height 57cmAvailable for order delivery time: 10-28 working daysShipping Cost Points: 3500
 -
 Schedel support SW80413 180x80cm, height 57cmAvailable for order delivery time: 10-28 working daysShipping Cost Points: 3500
 -
 Schedel support SW80429 180x80cm, height 57cmAvailable for order delivery time: 10-28 working daysShipping Cost Points: 3500
 -
,-height-57cm.png "Schedel support SW80430 180x80cm, (oval), height 57cm") Schedel support SW80430 180x80cm, (oval), height 57cmAvailable for order delivery time: 10-28 working daysShipping Cost Points: 3500
Schedel support SW80430 180x80cm, (oval), height 57cmAvailable for order delivery time: 10-28 working daysShipping Cost Points: 3500 -
 Schedel Bath Support SW10368 170x75cm, height 60cmAvailable for order delivery time: 10-28 working daysShipping Cost Points: 3500
 -
 Schedel Bath Support SW10369 180x80cm, height 60cmAvailable for order delivery time: 10-28 working daysShipping Cost Points: 3500
 -
 Schedel Ideal Standard bath support SW16140 170 x 75 cm, height 57 cmShort notice delivery delivery time: 10-28 working daysShipping Cost Points: 3200


Installation of the Schedel bath support made easy
Some people shy away from installing bath supports. It doesn't have to be complicated. The installation of Schedel bath supports, for example, is done in just a few simple steps thanks to the innovative technology from Schedel, which replaces the time-consuming and dirt-intensive masonry required to install a bathtub. We will tell you how to install your Schedel bath support step by step.
Step 1: First position the bath support with the wall spacer installed on the floor and mark its installation surfaces. Measure and mark the overflow position. In the meantime, make sure that the mounting surface is stable, vibration-free, clean, grease-free and level. If this is not the case, you can level the floor with liquid screed or another suitable material. You can then make the cutout for the inspection opening. Our tip: cut them out conically for easier closing.
Step 2: In the second step, cut out the pipe channel or the pipe guide and apply assembly foam to the ribbing of the support. Then position the bath support and align it horizontally. After about 30 minutes you can then remove the overlaying assembly foam.
Step 3: Now you can install the overflow set. Then apply the bathtub sealing tape and press it down without wrinkles. Repeat this process with the noise dampening tape. Before the bathtub can be installed afterwards, apply all-round foam to the edge of the bath support. If the bathtub gives way under load in the edge and / or floor area, you can support both with 2K assembly foam. It is best to work with a spirit level. You can then connect the overflow set to the bathtub. Make sure that you have an even overhang and distance from the wall. Finally, check the tightness and apply the protective profile and the bathtub edge protection tape.
Step 4: In the last step, close the inspection opening. Use a suitable sealant to seal all joints.